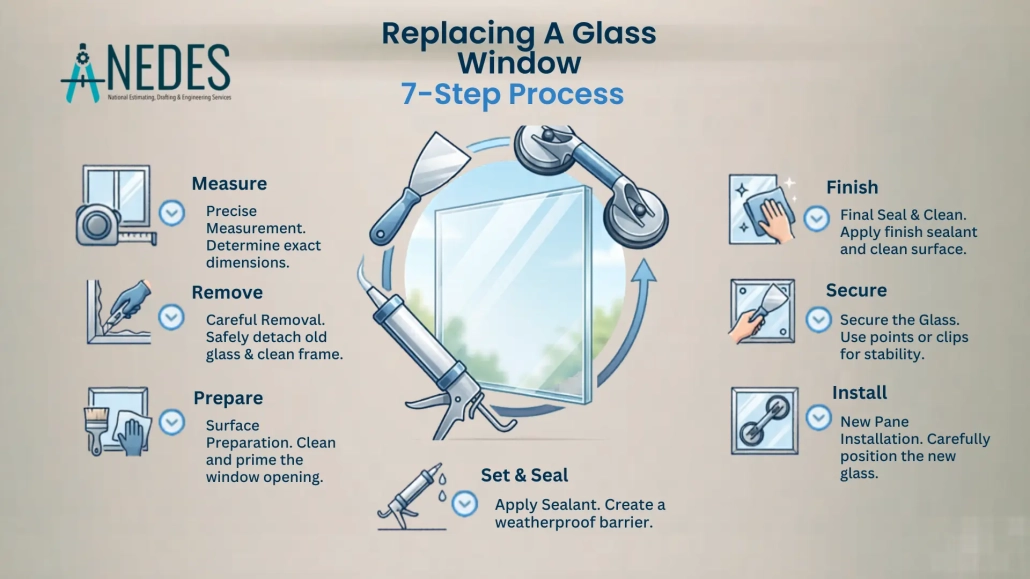
Replacing A Glass Window | 7-Step Process
Smash! That is the sound of a weekend project crashing right into your living room. Whether it was a rogue baseball, a violent storm, or just years of thermal stress, you are now staring at a jagged hole where a view used to be. The security of your home is compromised, and the immediate thought is usually a panicked search for “glass window repair near me”.Hold the phone!
Before you drop serious cash on an emergency callout, take a breath. Replacing a glass window on your own is entirely possible. In fact, if you are dealing with traditional single-glazing, it’s one of the most satisfying DIY home maintenance tasks you can do.
This guide strips away the industry jargon. We are going to cover everything from safely removing broken window glass to mastering window putty replacement. By the end of this read, you will know exactly how to replace the glass on a window without losing your mind (or your fingertips).
Why DIY? The True Cost to Replace Window Glass
Let’s talk numbers. When faced with a shattered pane, most homeowners immediately Google a window pane replacement service. Convenience has a price tag!
Professional home window repair averages anywhere from $150 to $400 per window, depending on the severity and glass type. If you happen to live in a high-demand area or need an emergency broken window fix in New York or Sydney, expect an exorbitant rush fee tacked onto that bill. But when it comes to the actual materials, they cost a fraction of that. Call us for construction estimating services if you need exact estimates for your window glass replacement.
Professional vs. DIY Window Glass Replacement
| Factor | Hiring a Local Professional | DIY Glass Replacement |
| Average Cost | $150 – $400+ | $20 – $70 (Materials only) |
| Wait Time | Days to weeks for an appointment | Immediate (Once you have the glass) |
| Labor Fees | $50 – $150 per hour | Sweat equity |
| Skill Level | Expert | Beginner to Intermediate |
| Ideal For | Custom shapes, massive IGU failures | Standard wood/vinyl frames, single panes |
If you opt for the DIY route, your primary investments are safety gear, basic tools, and the replacement glass itself.
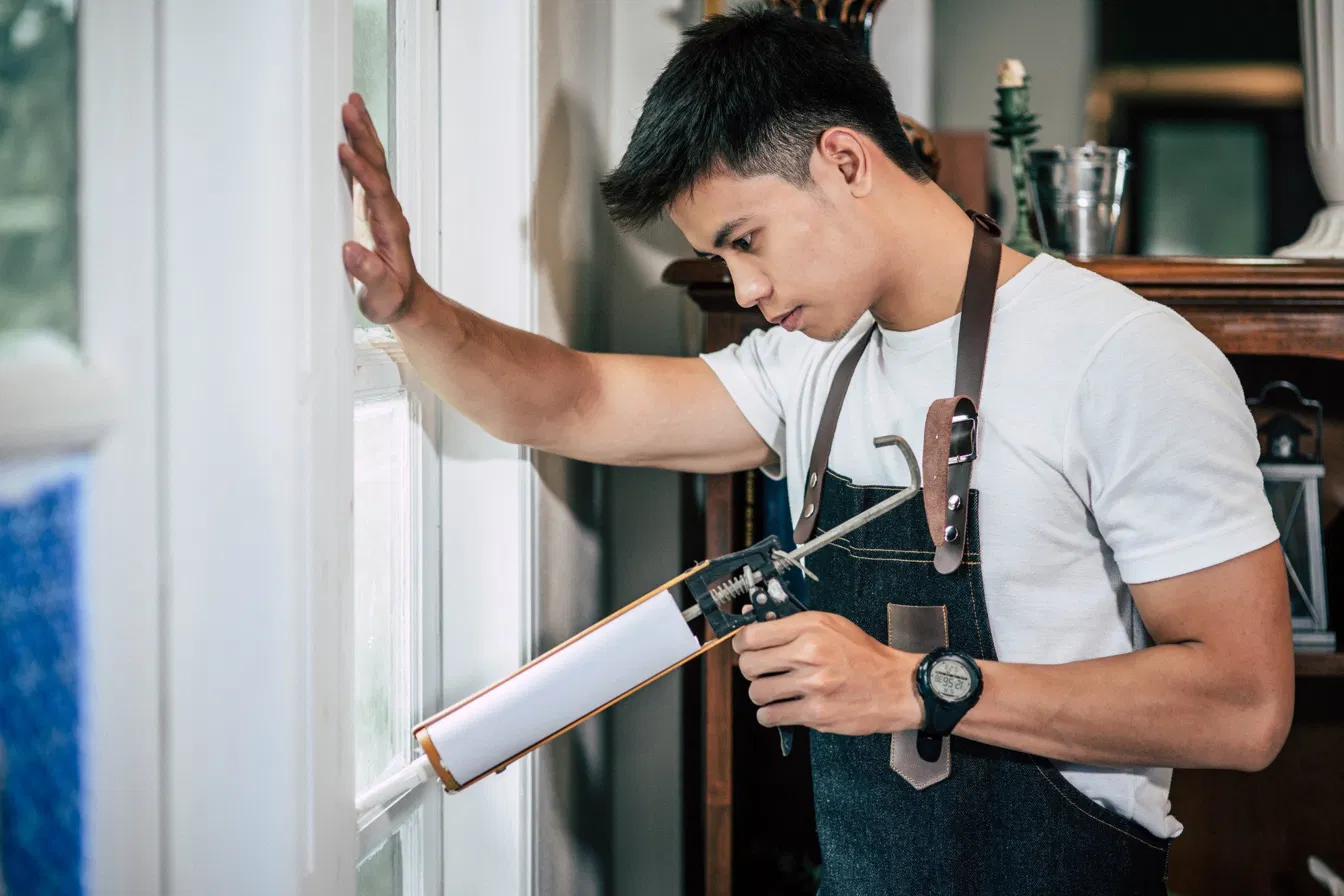
Single vs. Double Pane
Before you run to the hardware store, you need to identify exactly what broke. Not all glass is created equal. Knowing how to replace window glass starts with diagnosing your frame’s architecture.
Single Pane Window Replacement
Older homes, sheds, and detached garages usually feature single-pane windows. This is literally just one flat sheet of glass held in place by glazier’s points and putty within a wooden sash. Fixing this is incredibly straightforward. It’s the bread-and-butter of classic home window glass replacement.
Double Pane Window Glass Replacement
In modern homes, an insulated double pane is used for windows. Understanding how to replace glass in a double-pane window isn’t a piece of cake.
Double panes have an Insulated Glass Unit (IGU). It consists of two pieces of glass that are fused together with a vacuum or an inert gas (argon) between them, which stops heat transfer. Should one of the panes be broken, or if the seal is compromised and the glass appears foggy, you can’t just proceed by replacing one side. All of the IGU should be replaced. While you can order a custom IGU and put it in the existing frame yourself, cutting the glass in your garage won’t be easy.
| An Important Note |
| If you have large sliding glass doors, you may need to replace the glass with tempered glass window replacement as well, since it crumbles into dull fragments when broken, instead of sharp shards. Please refer to local building codes. |
What Are The Tools Needed to Replace Window Glass
You don’t put a butter knife together with an engine. Window glass repair calls for certain equipment. Before touching any broken pieces, collect these items in a bucket.
Safety Gear (Non-negotiable):
- Leather gloves: Canvas will not protect against sharp edges.
- Safety goggles: Micro glass dust in the eye is a nightmare.
- Closed-toe work boots: Don’t fall for boot choices with open toes.
Removal and Prep Tools:
- Heat gun: The only thing better than softening the rock-hard, ancient window glazing compound.
- Stiff putty knife: To remove old putty and any shards that are difficult to pull out.
- Pliers or needle nose pliers: Needed to remove rusty glazier’s points.
- Wire brush & sandpaper (medium grit): To prepare wooden sash.
Installation Materials:
- Replacement glass: Cut the glass to the exact dimensions (more on that below).
- The points of glazier: small metal triangles or push-pins that secure the glass to the wood.
- Window glazing putty: Latex (fast drying) or oil based (weeks to cure before paint).
- Linseed oil (optional but recommended): If you have bare wood, prime it with linseed oil so that it will not absorb moisture from the putty.
Step 1: Emergency Cleanup and Removing Broken Window Glass
Safety first. Taking a DIY approach to replacing broken window panes requires eliminating the hazard.
Start by taping the cracked glass. If the pane is partially broken but still in place in the frame, use a roll of heavy-duty duct tape or packing tape and make a grid pattern over the glass. This is a simple technique to keep the jagged bits in place so that the glass doesn’t break out in a domino effect when you begin to pull it out. Then place a heavy drop cloth (not plastic, glass will cut through) on both sides of the window.
Now put on leather gloves and goggles. Gently shake off the loose parts. Pull them out and down, not up. Put the shards into a sturdy cardboard box, not a plastic trash bag.
When you just need to temporarily patch a broken window until you receive a custom pane, cover the opening with a piece of heavy mil plastic sheeting or cut-to-size plywood, and tape it securely.
Step 2: Diging the Old Frame (Wood or Vinyl)
The frame’s L-shaped channel (the “rabbet”) needs to be perfectly clean in order to get your new pane to lie flat.
Replace Glass in Wood Frame Window
Rock hard, petrified putty is a common problem with old wooden frames. That’s where your heat gun comes in handy.
The heat gun should be constantly moved two inches away from the old glazing. If you are working on a multi-pane sash, don’t leave it in one place, or you’ll burn the wood and possibly crack the adjacent glass panes. When the putty starts to soften, press your hard putty knife into it, and gently scrape it off.
Below this putty will be metal resistance. These are the points of the old glazier. Use needle-nose pliers to grab them by and pull straight out. After the points and putty has gone, clean the bare wood with a scraper. Remove dust from brushes.
| Pro Tip For Wood |
| Bare Wood is thirsty. When a wooden component is dry, and fresh putty is applied, the wood will suck up the oils in the putty and the new seal will crack within a year. Apply a little linseed oil or clear wood sealer to the bare rabbet and allow to dry. |
Replace Glass in Vinyl Window
When replacing glass in vinyl windows, don’t resort to the heat gun. You’ll be melting your window.
Unlike traditional windows, vinyl windows do not rely on putty. They use vinyl glazing strips (stops) and double-sided foam tape. To remove the vinyl stops, gently use a thin putty knife or a special 5-in-1 tool. Remove them carefully, remembering whether they are top, bottom, left or right. After removing the stops, cut the foam tape that is holding the glass to the frame. If there is any adhesive residue clean it with a solvent before continuing.
Step 3: How to Measure for Window Glass Replacement
When you need to buy something, measure twice, buy once. If you get this step wrong, you’re throwing your money down the drain.
The width and the height of the opening should be measured. The important thing is that you are measuring the whole area within the channel (the inside of the wood L-groove on one side to the inside of the groove on the other side).
Use a steel tape measure.
- Take the width measurement at the top, middle and bottom of the frame.
- Take the height measurement at left, center and right.
Over time, frames warp. They shift. They settle. Always use the smallest width and height of your measurements.
| The Golden Deduction Rule |
| You don’t want it to fit snugly in the frame. The material’s volume changes as the temperature changes. If it’s in tightly, the first night of freezing or blistering afternoon will break the glass under pressure. |
Subtract 1/8″ (or 3mm) from both your final width and height. This provides you with clearance of 1/16” on each side. It is sufficiently large to accommodate thermal expansion, but not so large that your glazier’s points and putty stops covering the space.
Bring these last measurements to the hardware store or glass cutter. When replacing an insulated glass unit (IGU), the thickness of the current double-pane unit will also need to be determined.
Don’t let a broken window drain your energy bills. Get it replaced the right way — contact us now for a quick quote.
Step 4: Dry Fitting and Setting the Bed
You have your freshly cut glass. The frame is prepped, oiled, and ready. It is time to start the actual window glass replacement. But before all of that, ensure the glass you purchased actually comply then Code of Federal Regulations. If it is a hazardous place, try going for a tempered glass alternative.
First, do a dry fit. Gently place the new glass into the opening. Do not force it. It should drop in easily with that slight 1/16-inch wiggle room all the way around. If it binds or sticks, you need to either shave down the wood frame slightly or take the glass back to get a fraction trimmed off.
Assuming it fits perfectly, take the glass back out and set it somewhere safe.
Now, we create the bed. You need an airtight, waterproof seal behind the glass. Take a small handful of window glazing putty and knead it in your gloved hands. The warmth from your hands makes it pliable. Roll it into a long, thin rope, about 1/8 inch thick.
Press this thin rope of putty completely around the L-shaped channel of the frame where the glass will sit. This is the “bedding.”
Carefully lift your new glass and press it firmly into the frame. Push around the perimeter, not the center of the glass, until the putty squishes out slightly on the other side. This bedding guarantees a watertight seal against rain and drafts, ensuring your glazing window repair stands the test of time.
Step 5: Securing the Pane with Glazier’s Points
Here is a reality check that surprises many beginners: window putty is not glue. It does not hold the glass in the frame. That heavy lifting is done by tiny, unassuming pieces of metal called glazier’s points.
If you skip this step, your glass will eventually fall out and shatter.
Once your new pane is nestled firmly into the putty bed you created in Step 4, it is time to pin it down. You will need a fresh pack of glazier’s points. There are two main types: traditional triangle points and modern push-points. Push-points are vastly superior for a DIY window glass replacement because they have a small lip that allows you to drive them in with a putty knife rather than a specialized tool.
Place a point flat against the glass. Position your stiff putty knife against the lip of the point. Now, gently but firmly rock the knife back and forth while paushing the point directly into the wood frame.
| Critical Warning |
| Do not use a hammer. Do not tap the putty knife with a mallet. The vibration will instantly crack your brand-new glass. Steady, manual pressure is all it takes |
Space these points every 4 to 6 inches along all four sides of the frame. Push them deep enough so they sit perfectly flush with the wood. If they stick up too high, they will protrude through the final layer of putty, ruining the aesthetic of your window sash glass replacement.
Step 6: Window Putty Replacement
You have reached the most visually important part of the job. Applying the final seal (often referred to as window putty replacement or glazing) requires a bit of finesse. Do not panic if your first corner looks rough; it takes a few tries to find the rhythm.
Grab another handful of putty. Knead it until it feels like warm modeling clay. Roll it into a thick rope, roughly the diameter of a pencil. Starting in one corner, press this rope of putty firmly into the L-channel, covering the glazier’s points completely. Work your way around the entire perimeter of the window.
Now comes the technique. Take your putty knife and dip the blade in water or a tiny bit of linseed oil to prevent dragging. Hold the knife at a 45-degree angle to the glass. Starting in a corner, press the blade into the putty and glide it smoothly along the edge in one continuous, confident motion.
You are aiming to create a smooth, angled wedge. The top of the putty slope should meet the wood frame exactly at the inner edge, and the bottom of the slope should touch the glass just above the inside edge of the frame. You do not want to see the putty from the inside of the house when looking out.
| Common Putty Mistakes | How to Fix Them |
| Putty is pulling or tearing | Your knife is dry or you are moving too fast. Lubricate the blade and slow down. |
| Lumpy, uneven finish | You are using multiple short strokes. Try to do one long, sweeping pass per side. |
| Putty is visible from indoors | Your angle is too shallow. Increase the angle of your knife to cut away excess compound. |
Once you have smoothed all four sides, take a piece of scrap putty and gently dab away the oily smudges left on the glass. Do not wipe the glass with a rag yet, as you might accidentally dent your pristine new seal.
Step 7: Curing, Painting, and Weatherproofing
You have just mastered how to replace the glass on a window, but there’s still more work to do. Avoid exposing the putty to the elements until it has cured.
If you applied modern latex glazing compound, you may be able to start painting in 3 to 4 days. Traditional oil based putty takes a long time to use. The time required for oil-based compounds to skin over properly ranges from 2 to 4 weeks. Try to do it by applying slight pressure to the surface with a fingernail. After making an indent, wait another week.
When cured, it is ready to be painted. This is not only for aesthetic purposes. That’s because paint is the last line of defense against moisture.
Apply exterior quality primer and then exterior quality paint. The insider trick to professional home window repair is to “lap” the paint over the glass. Never tape off the glass level with the putty. Allow paint to overhang by about 1/16″ right onto the glass, over the putty. This minute overlap makes for an impenetrable waterproof seal, preventing rain from seeping under the compound. After the paint dries, gently use a razor blade scraper and wash the window to trim any paint off further up the glass.
Navigating Specific Challenges
Every home throws a different curveball. The 7-step process is for standard installations, but there may be occasions when a slight turnabout becomes necessary.
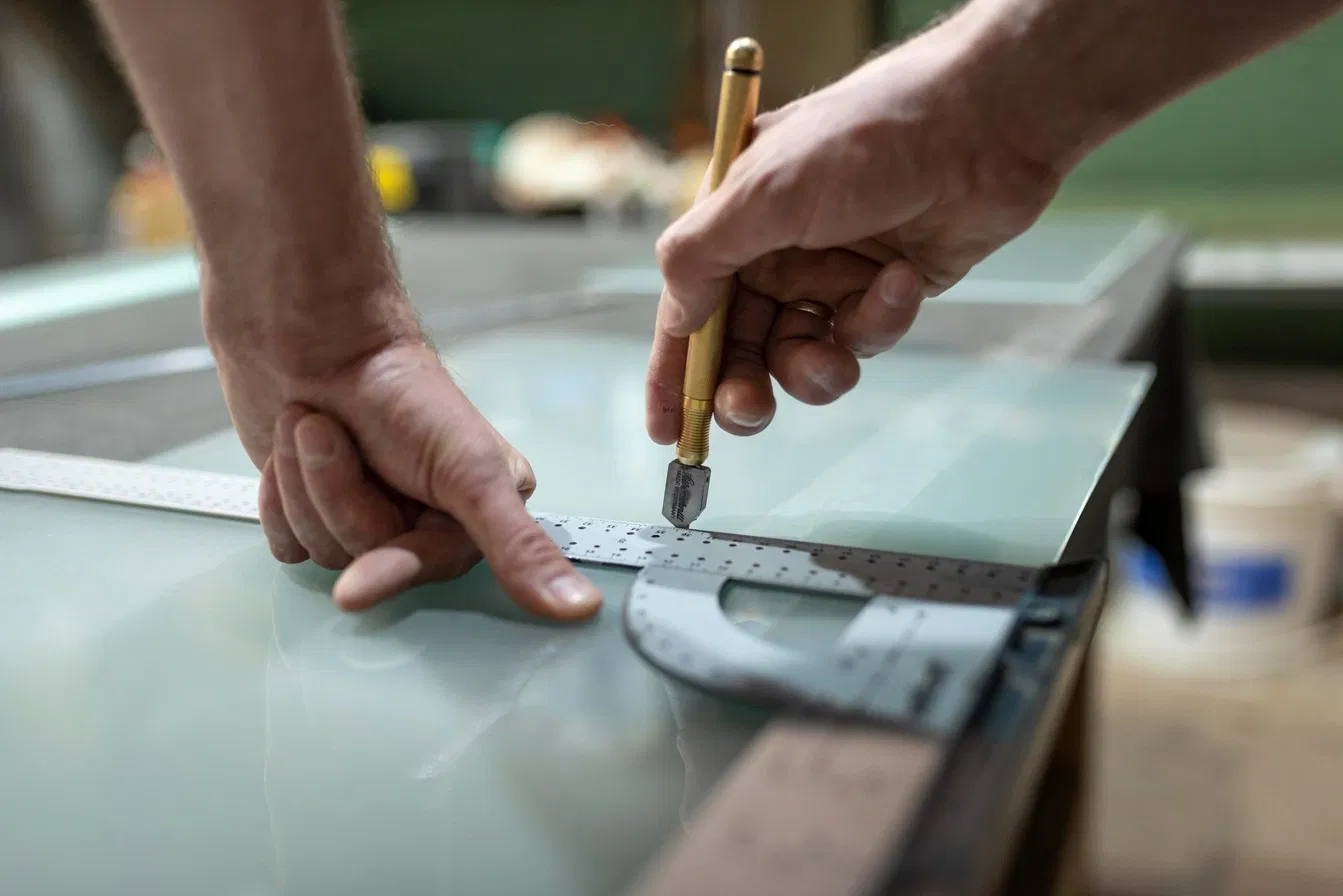
Window Sash Glass Replacement
If you are dealing with traditional double-hung windows (the kind that slide up and down), do not try to repair the glass while hanging out of the opening. Performing a window sash glass replacement is infinitely easier if you remove the sash completely and lay it flat on a sturdy workbench. Pop out the side stops, unhook the sash cords or weights, and bring the frame inside. Working horizontally gives you vastly better control over your putty knife.
Emergency Broken Window Glass Replacement
Sometimes a window shatters at 2:00 AM during a torrential downpour, or right before a major family event. You do not have time for linseed oil to dry. Emergency broken window glass replacement is about securing the perimeter fast.
Clear the jagged glass using thick gloves. If you cannot get custom glass cut immediately, buy a sheet of thick acrylic or plexiglass from a big-box store. You can score and snap plexiglass at home using a heavy-duty utility knife. Secure it into the frame using heavy-duty exterior weather tape or temporary screw-in plastic clips. It is not pretty, but a fast broken window fix or anywhere else facing extreme weather will keep the interior of your home safe until professional supplies arrive.
Conclusion
Shattered glass is a shock, but it doesn’t have to be a financial drain. Taking the time to understand how to replace a broken window pane DIY empowers you to maintain your home on your own terms. It saves you hundreds of dollars in markup and labor fees. Know more about glass window repair estimation in our detailed guide.
Whether you are executing a simple single pane window replacement on a backyard shed or doing intricate glazing window repair on a historic craftsman home, the principles remain the same. Clear the debris safely. Measure with exacting precision. Prep the wood meticulously. Seal the glass tightly.
You do not need to be a seasoned contractor to pull this off. You just need the right tools, a bit of patience, and the confidence to take the first step. So grab your putty knife, put on those safety goggles, and get your view back.
Frequently Asked Questions (FAQs)
How to replace glass in a double-pane window?
Replacing a single pane within a double-pane unit is not a DIY task. You must order a complete replacement IGU manufactured to your exact dimensions. Once the IGU arrives, you can remove the vinyl stops from your frame, slice through the old adhesive tape, pull out the entire broken unit, and install the new IGU using fresh double-sided glazing tape.
What is the average cost to replace window glass?
If you hire a professional for window pane replacement service, expect to pay between $150 and $400. However, if you are doing a DIY single pane window replacement, you will only pay for the materials. A custom-cut piece of single-strength glass usually costs between $15 and $40, plus another $20 for putty and points.
Can I just fix broken window glass instead of replacing the whole window?
This is the most cost-effective route. If the wooden or vinyl frame (the sash) is still structurally sound and free from severe rot, there is no need to rip out the entire window structure. Home window glass replacement insights in this blog allow you to just swap out the shattered pane.
What is the difference between window repair and window glass replacement?
Window repair is a broad term that covers fixing mechanical issues like broken sash cords, stuck frames, rotted sills, or faulty locking mechanisms. Window glass replacement specifically refers to the act of removing a broken or fogged pane of glass and installing a new one.
How do I secure a broken window overnight?
For immediate emergency broken window glass replacement or temporary securing, start by wearing thick leather gloves. Carefully remove the loose, dangerous shards. Take a heavy-duty trash bag or a thick mil plastic drop cloth and fold it so it is double-layered. Tape it securely to the window frame (not the wall, to avoid ruining paint) using high-adhesion duct tape or heavy masking tape. Ensure the edges are sealed tightly to keep wind and rain out until you can get the glass replaced.
Is tempered glass window replacement harder than regular glass?
Tempered glass cannot be cut after it has been manufactured. You cannot buy a large sheet and trim it at home. Your measurements must be absolutely flawless, as the factory must cut the glass to size before putting it through the tempering process.